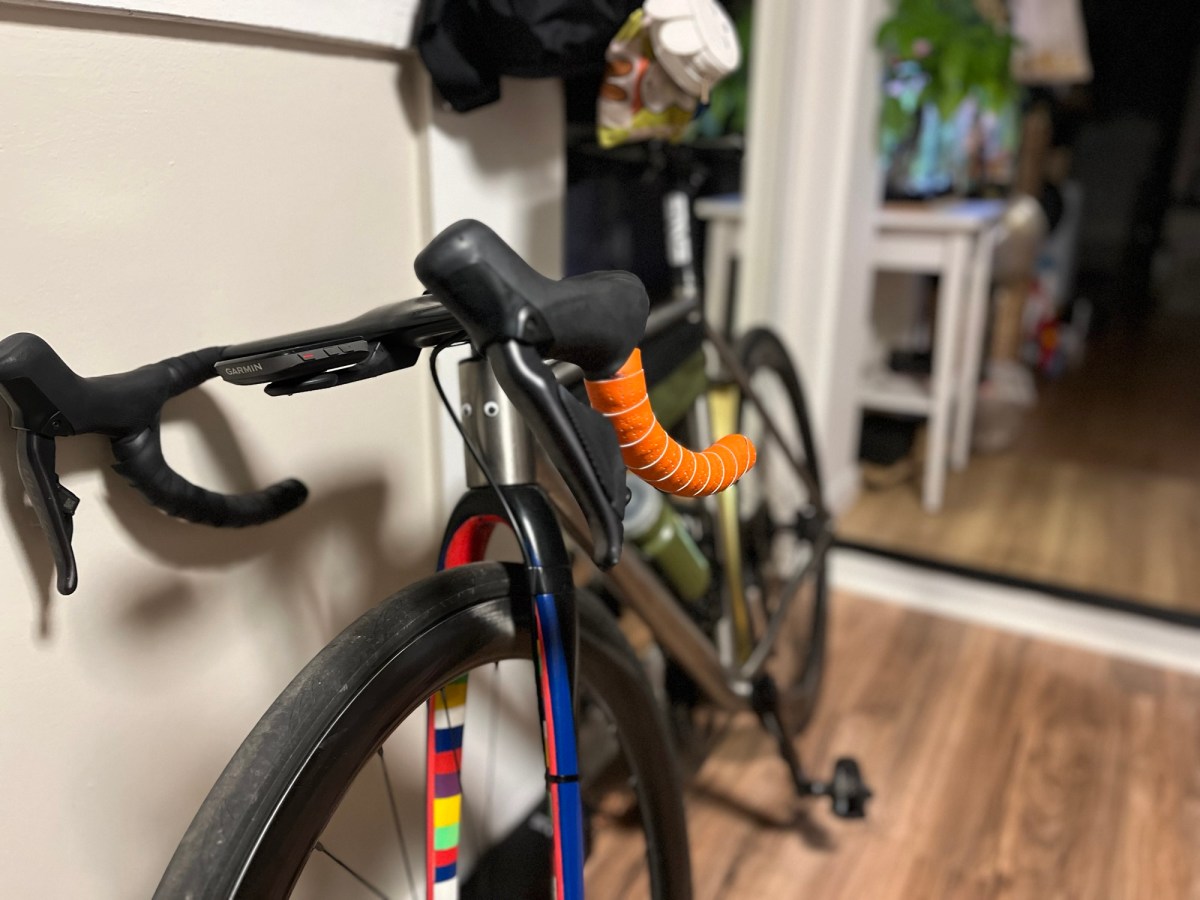
Made a two-tone handlebar tape. Also increases road visibility, slightly.
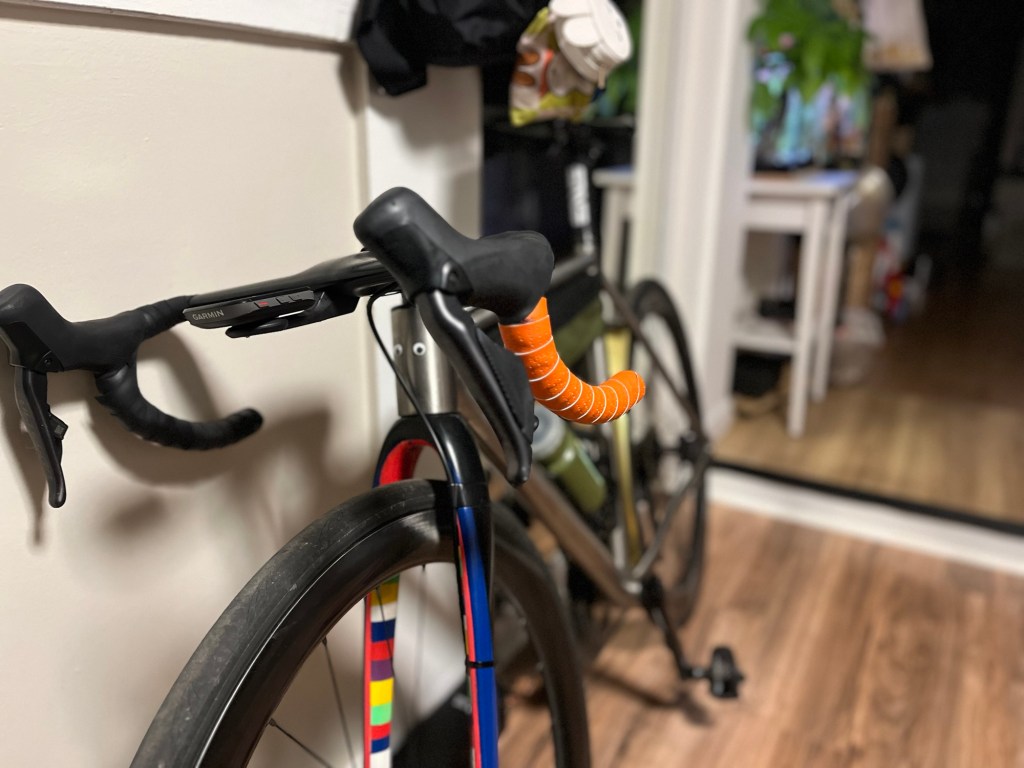
Fizik tape went on sale so decided to update handlebar tape. Have also been feeling stressed on the road as cars zoom past, sometimes cautiously yielding and sometimes trying to get to the stop light first. Ergo, some orange (on the left) made sense.
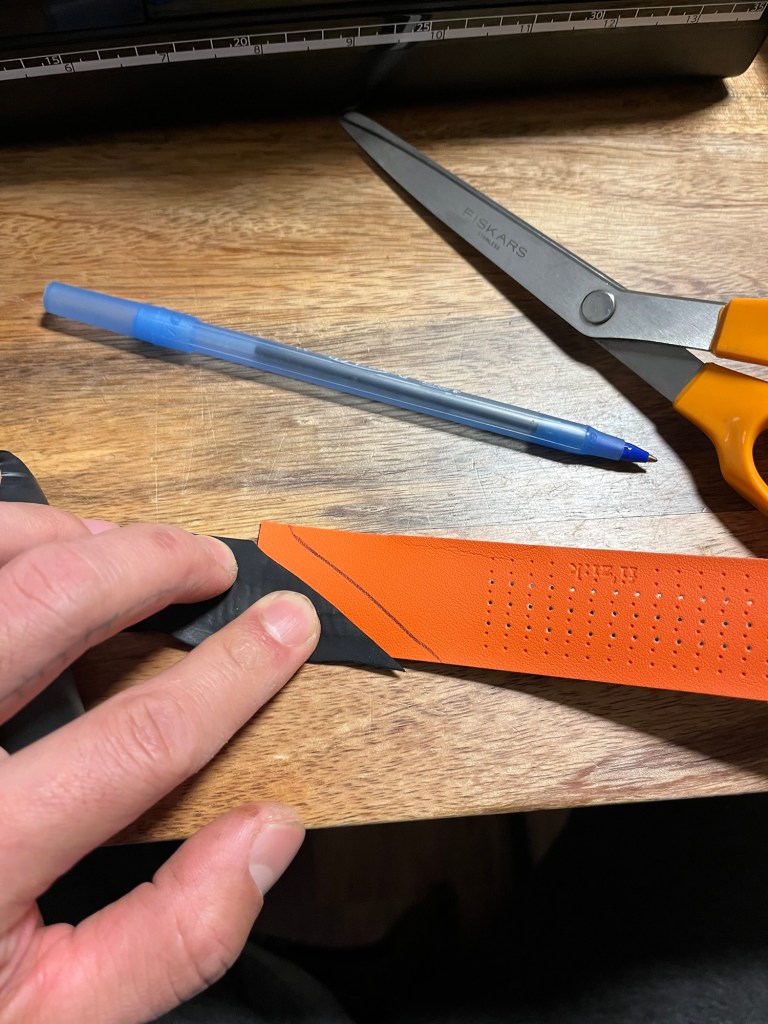
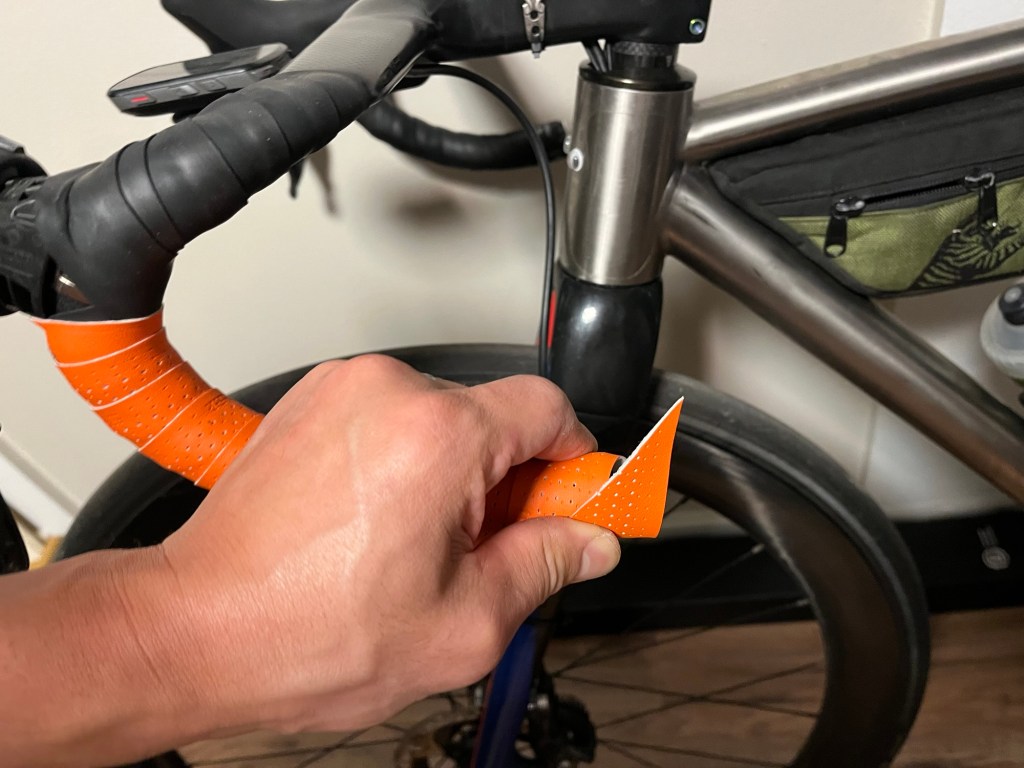
Unraveled and measured the correct bond point to ensure the orange covered the bottom portion of the bars. Going to reuse the top portion of the old tape.
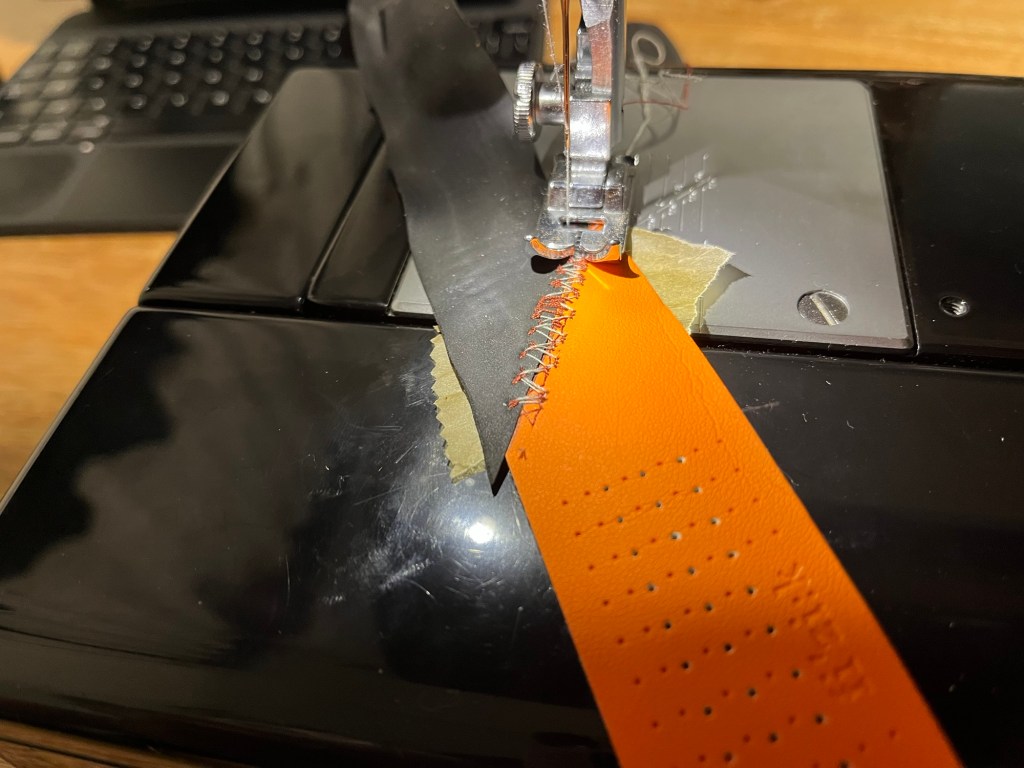
Mark the orange tape for a smooth meeting place.
Lined up with some wax paper on the back to help the tape slide smoothly on the dogs. Went with a double overlock stitch with #2 spacing.
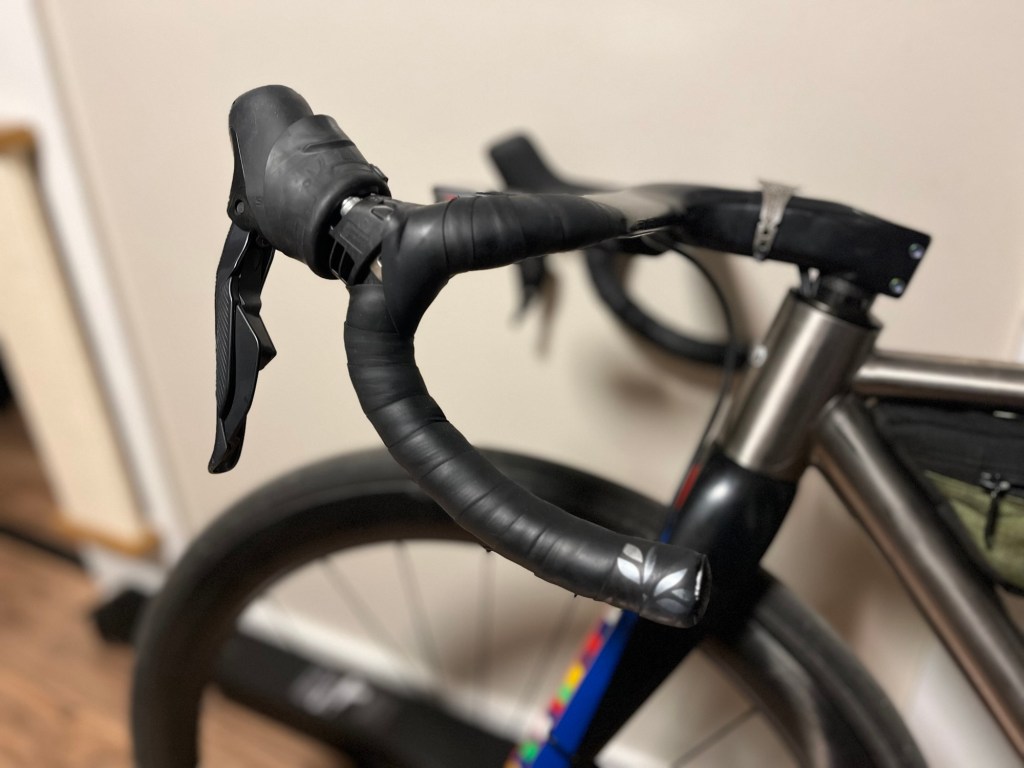
Yes, the bottom is wound the wrong way, but the top of the bar is not. Sometimes I prefer the clean look sans electrical tape and this is the only way. It’ll never unravel.
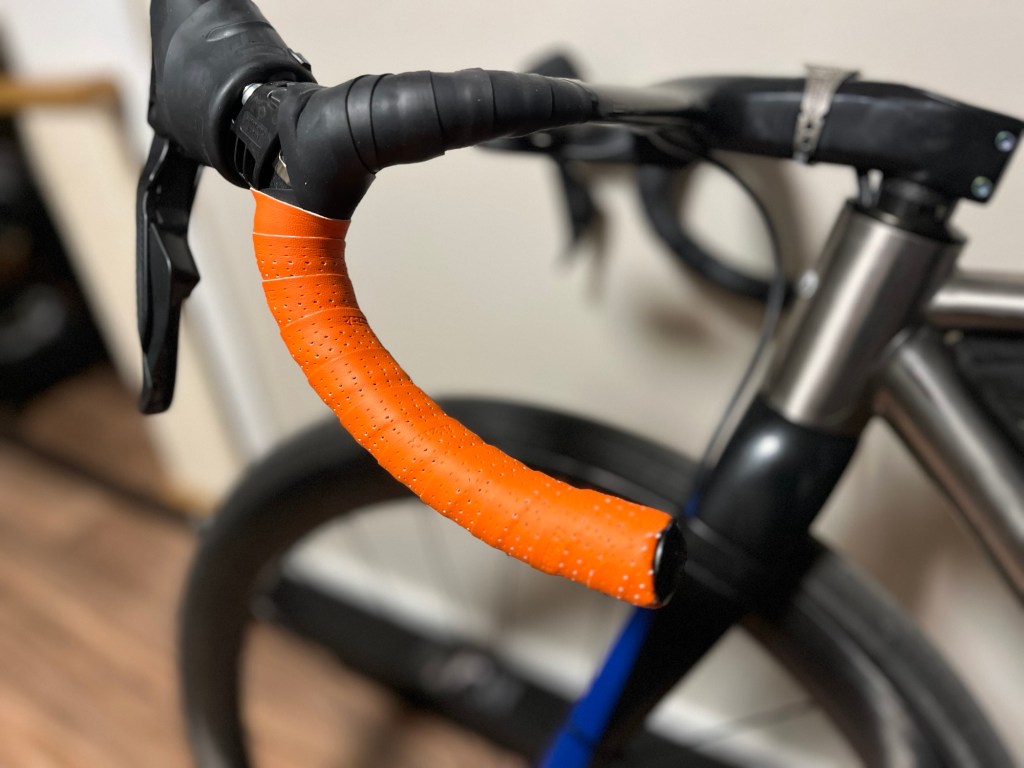
A clean ending.
Statistically improving safety on the road by a non-zero amount.
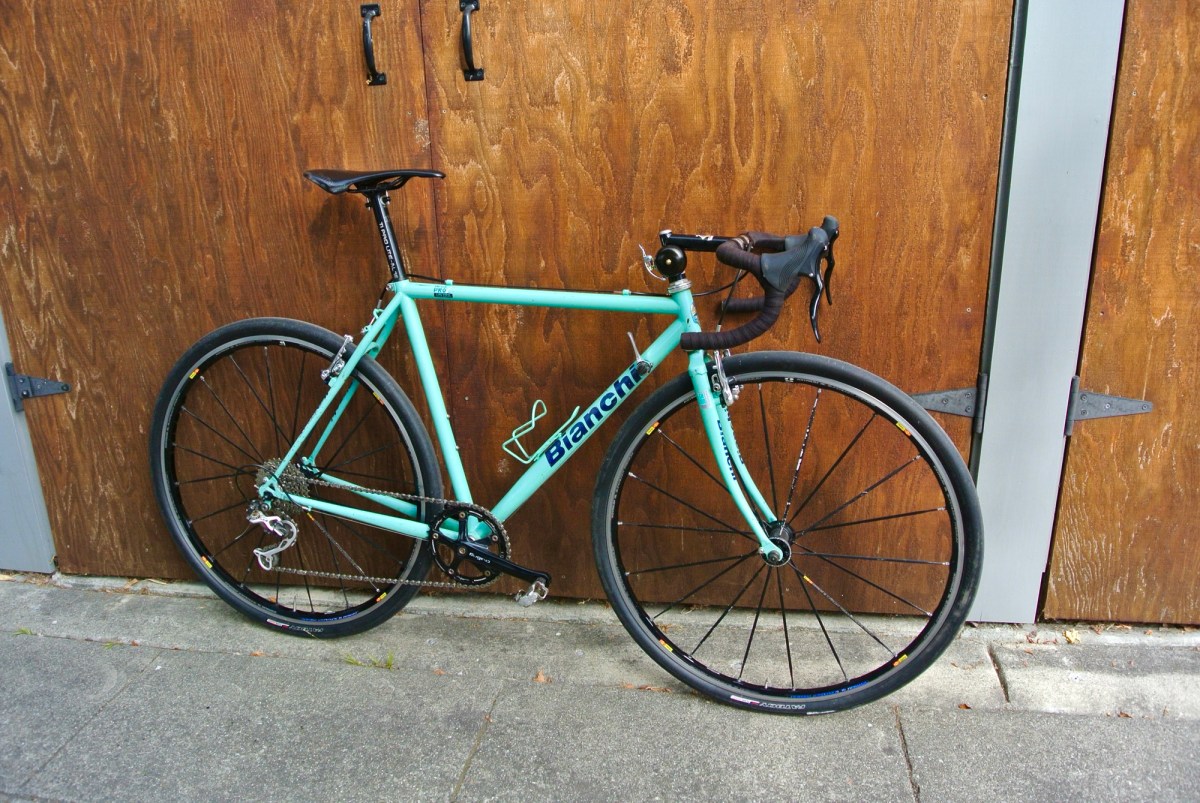
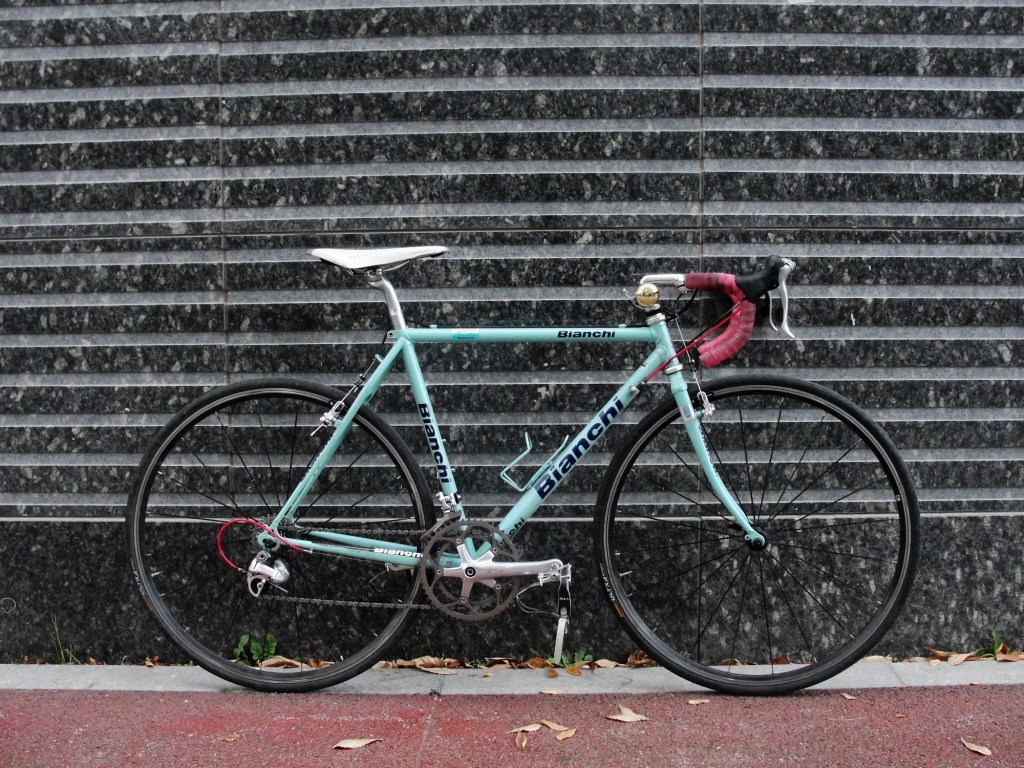
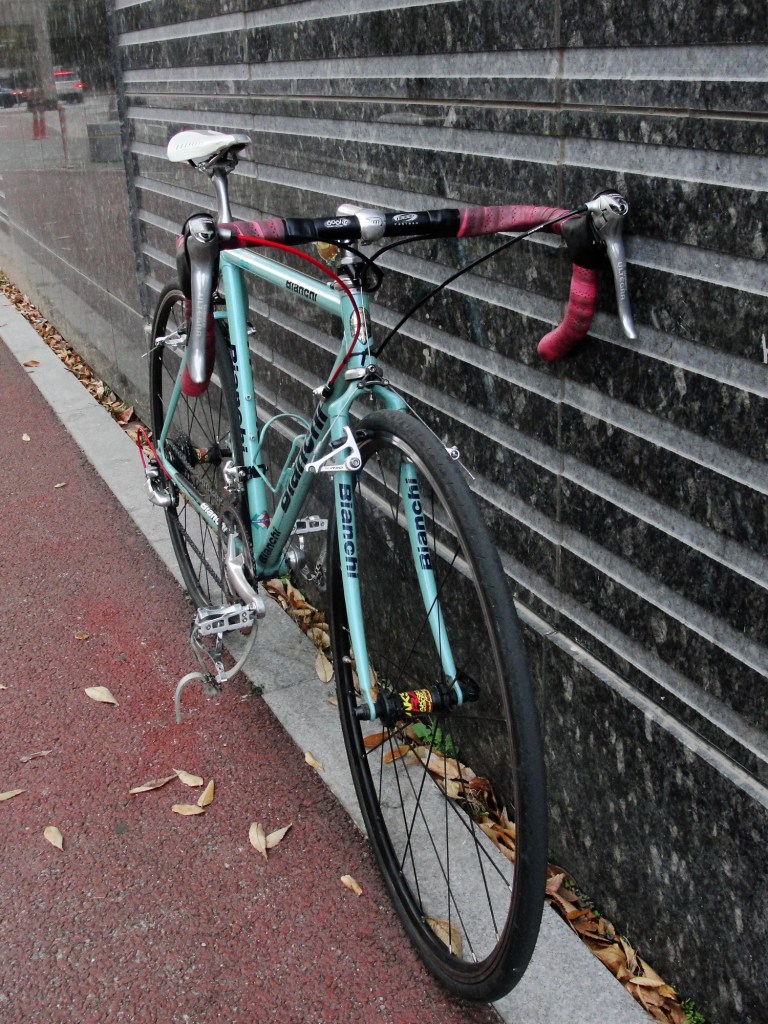
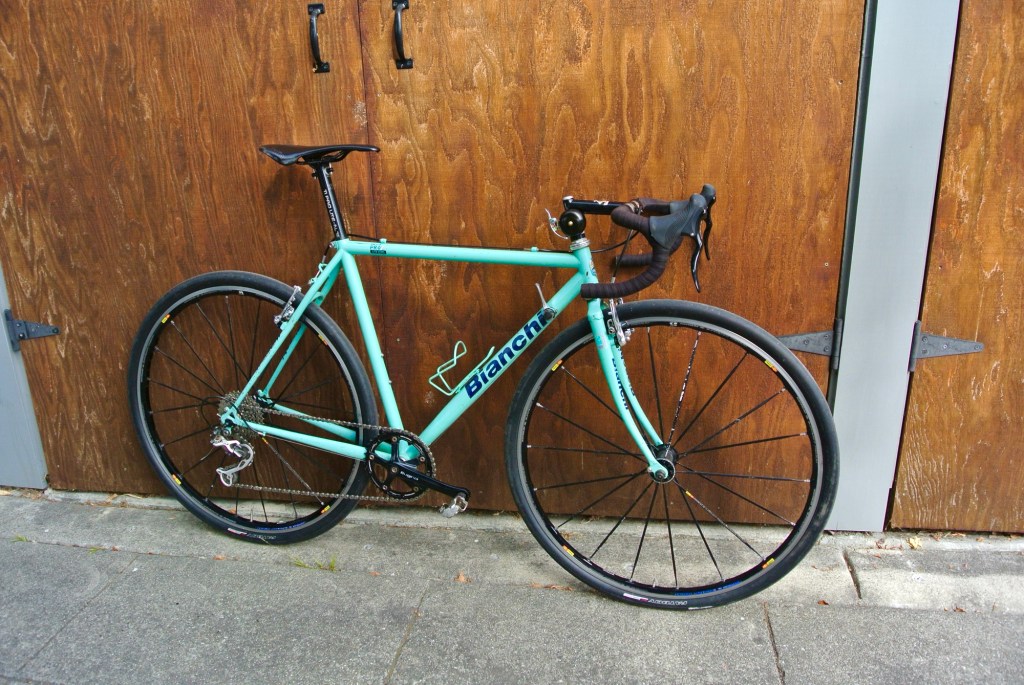
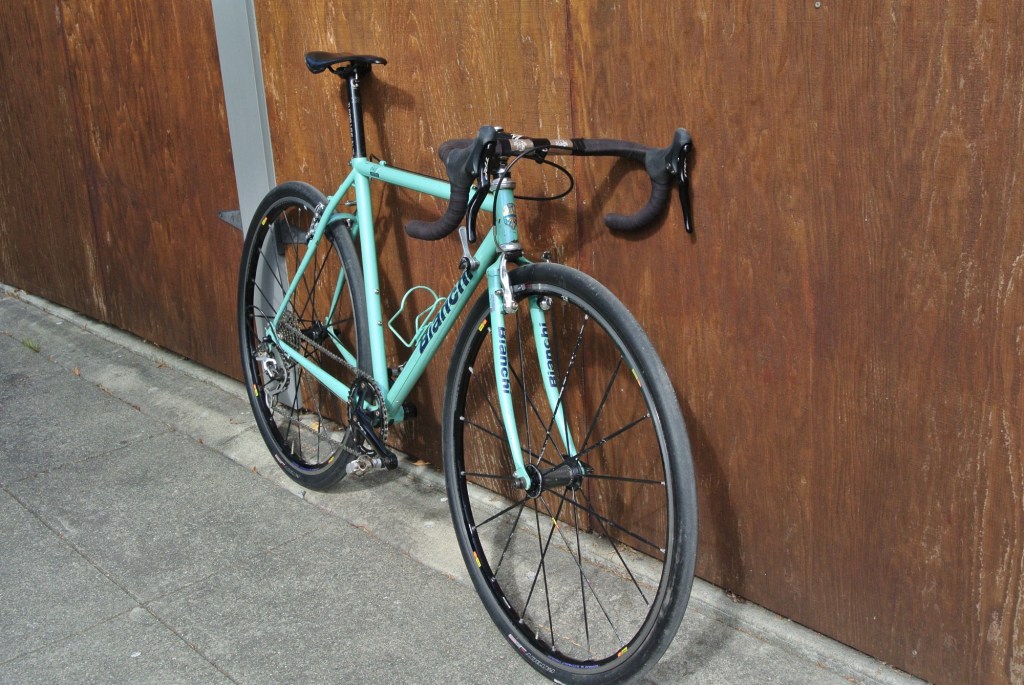
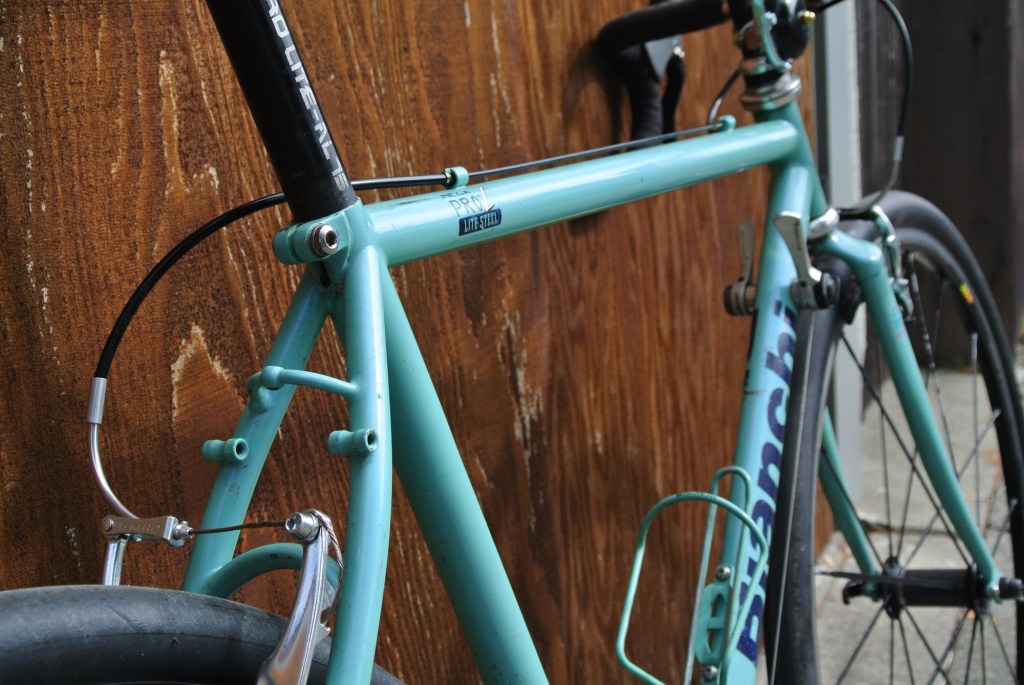
Prior to moving to Korea, I purchased a Bianchi Reparto Corse cyclocross/touring frame from my friend’s uncle in 2011 for $300. I built the bike up in Korea with parts I had brought and some I had purchased there (Shown above).But in 2015, after a series of challenges and poor decisions, I sold the frameset in the Korean used bike market. Fast forward to now in 2026, I had found a used frameset in San Jose for $270. Even though there is a very slight ding in the bottom of the down tube, the frame is in fine condition.
Completely by accident, after acquiring parts over the years, the bike ended up with this black-component theme.
The TRP levers have a nice grip, similar to newer Campagnolo grips. However, they don’t mesh perfectly with the bars and the handle positions are a bit limited on and just behind the hoods.
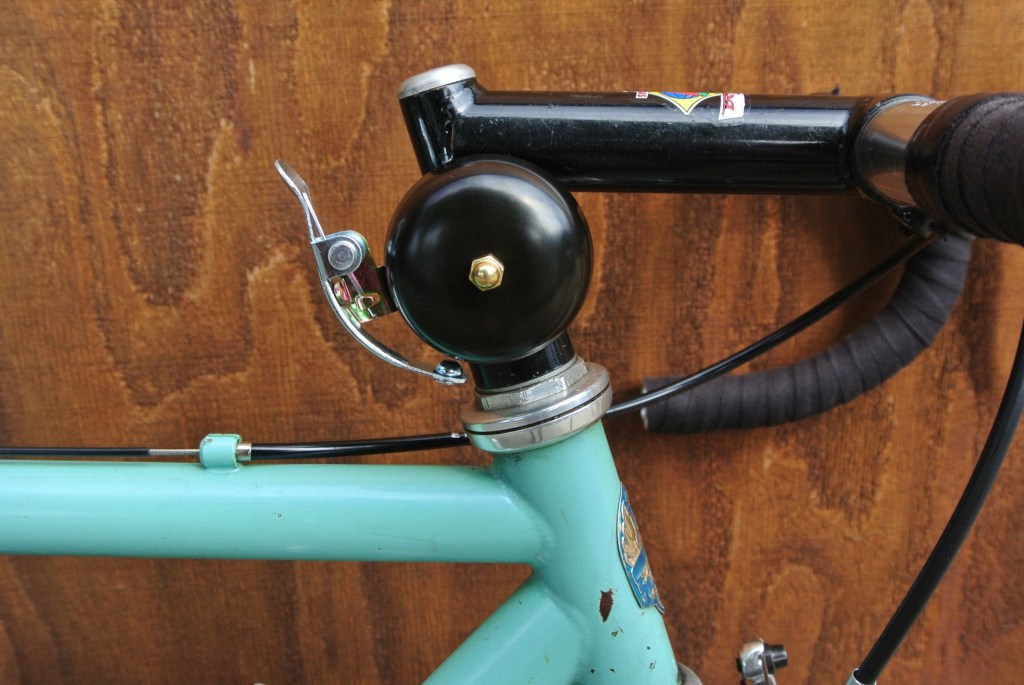
A brass bell that rings, also in black, purchased on sale through Mike’s Bikes.
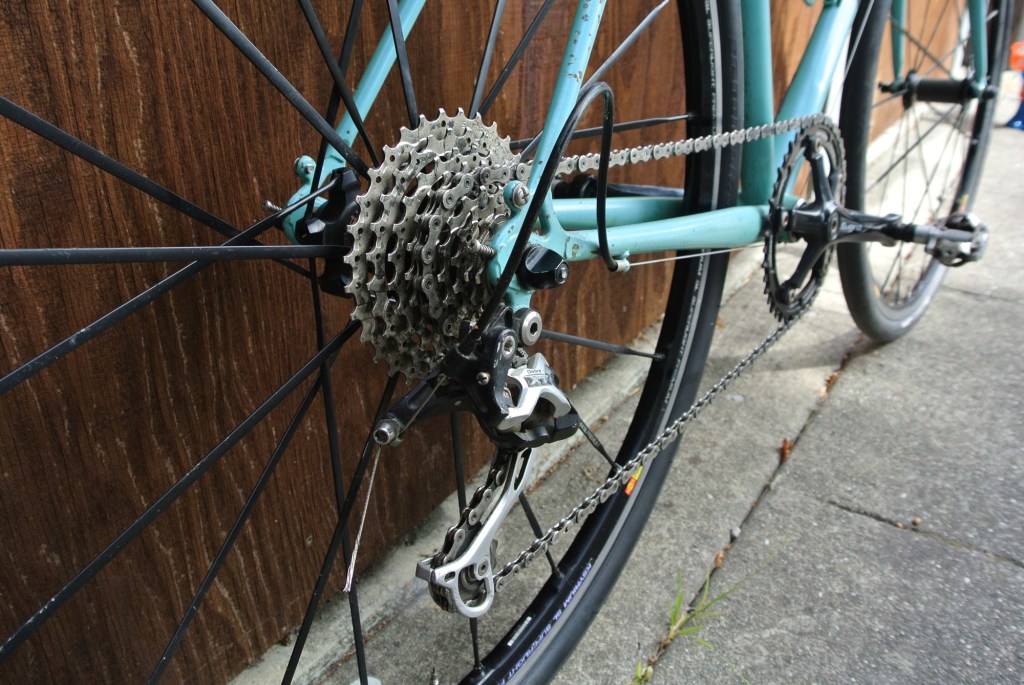
Enough gearing for local hills and flats. The old XT derailleur is a beautiful design.
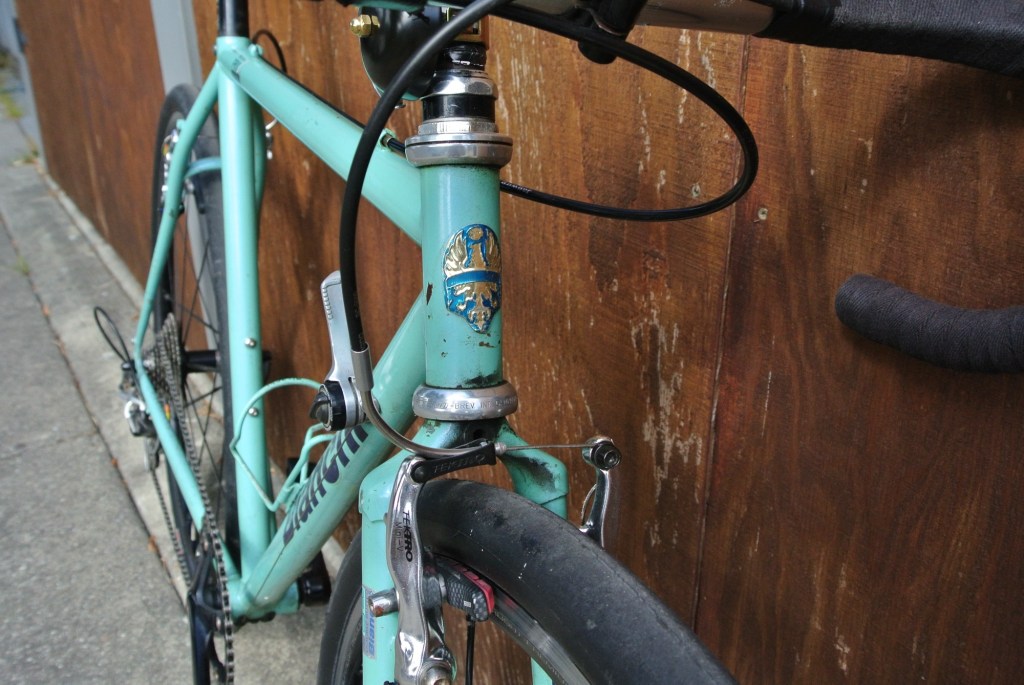
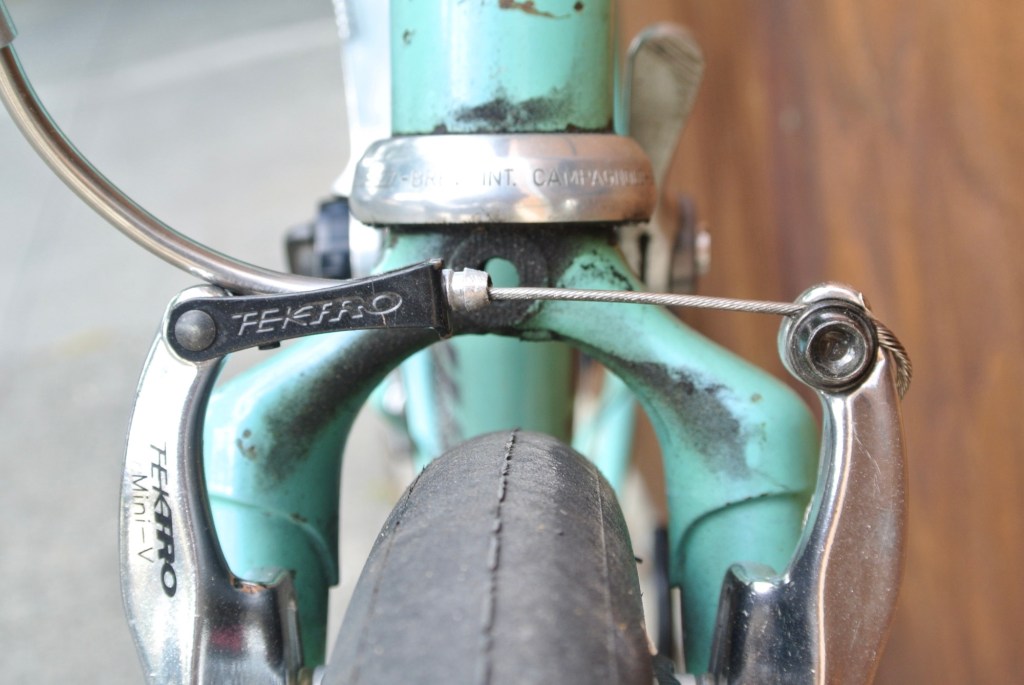
V brakes are a lot easier to setup and maintain versus cantiliver brakes due to the cable routing. Short reach v brakes are also a nice touch.
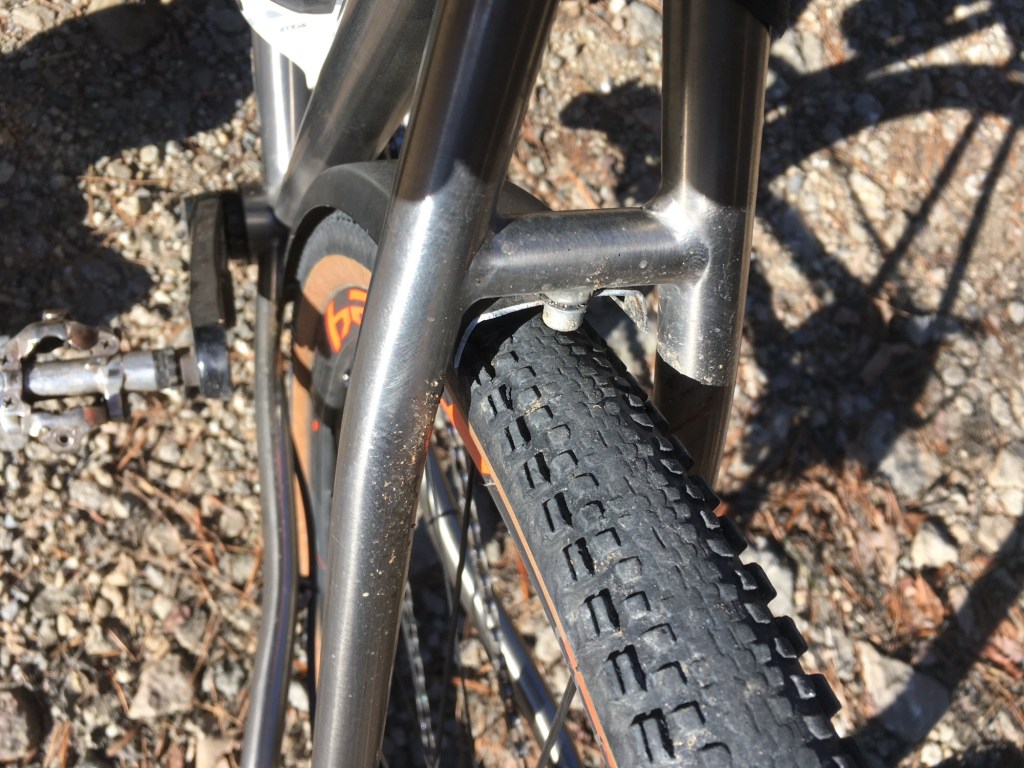
Plenty of room left with these short v-brakes and 700×35 tire.
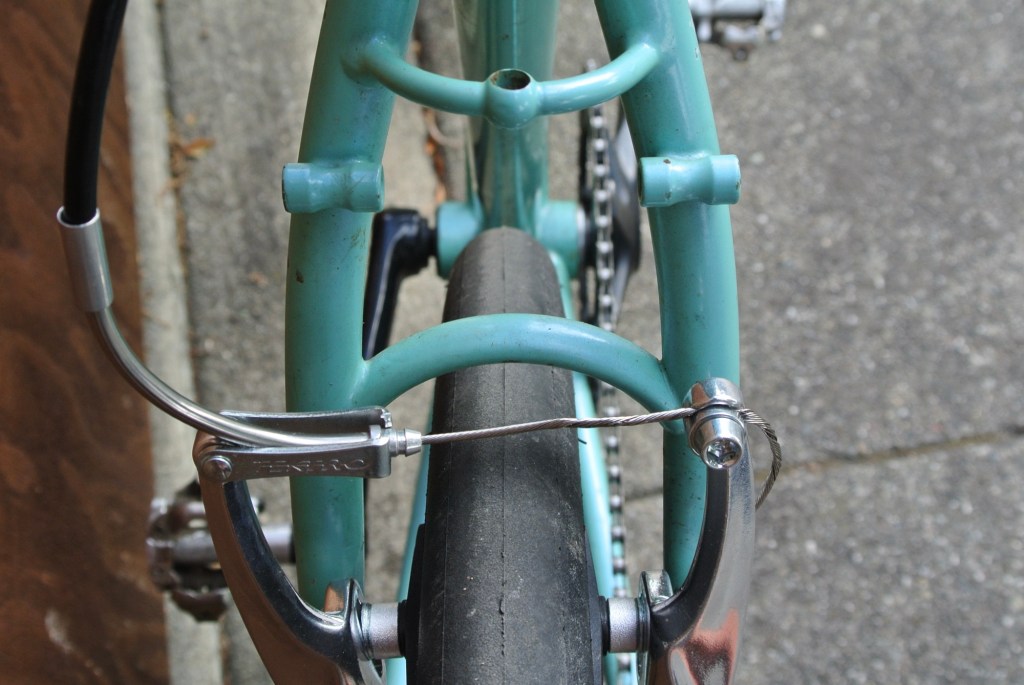
Line details and a sleeved rear brake cable. Again, v-brakes are much more simple to route.
Plenty of clearance left.
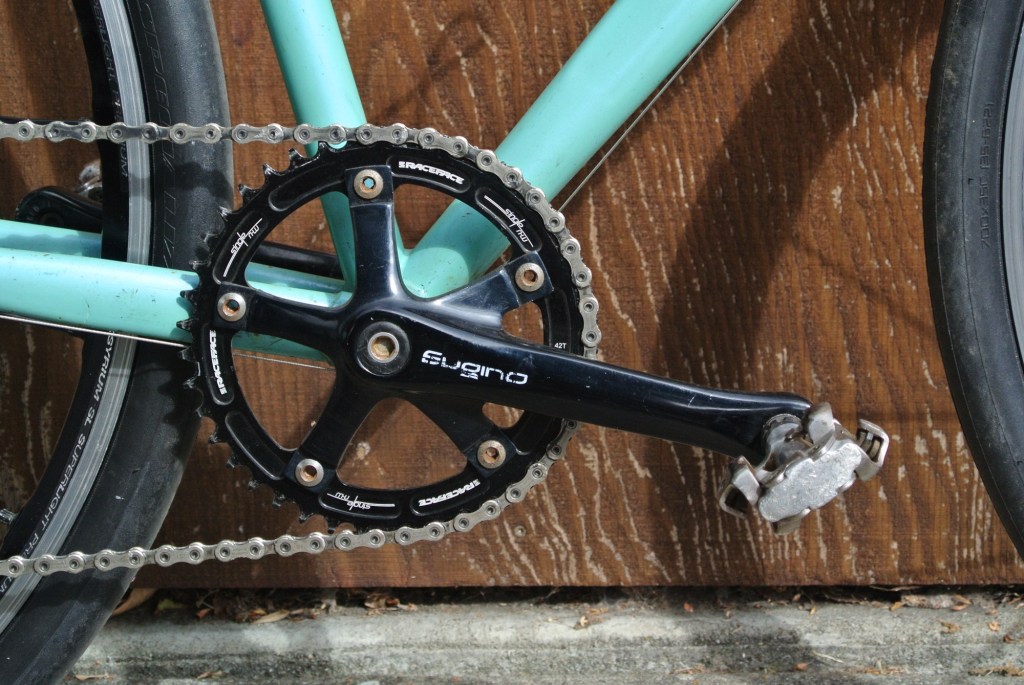
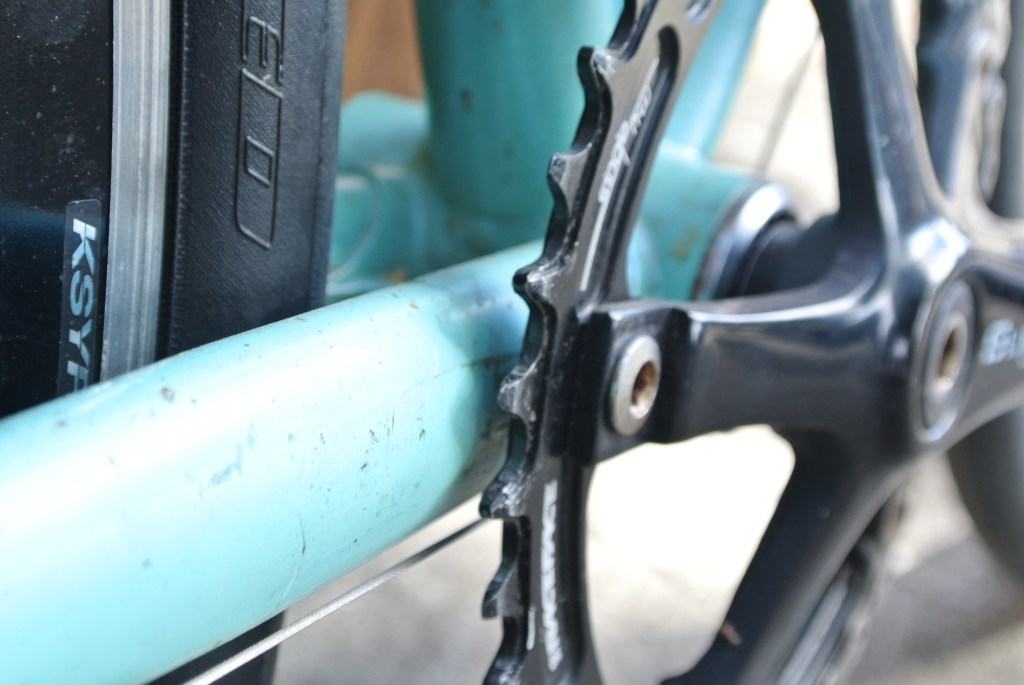
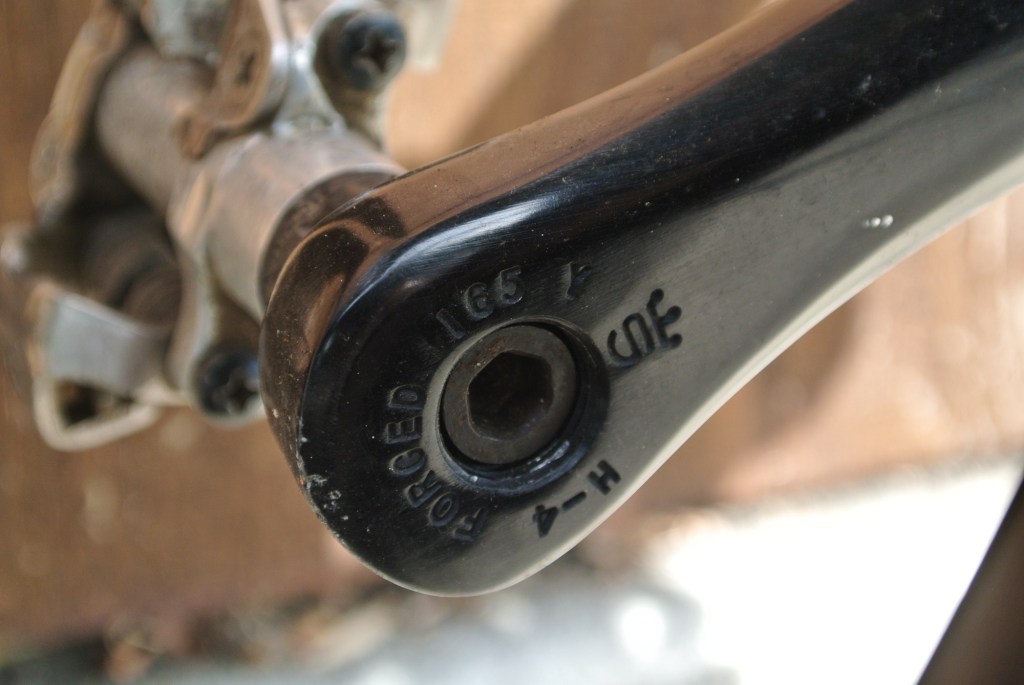
Track cranks and a race face chainring.
Installed on the inside of the crank for a better chainline while clearing the chainstay.
165 cranks are the length for me.
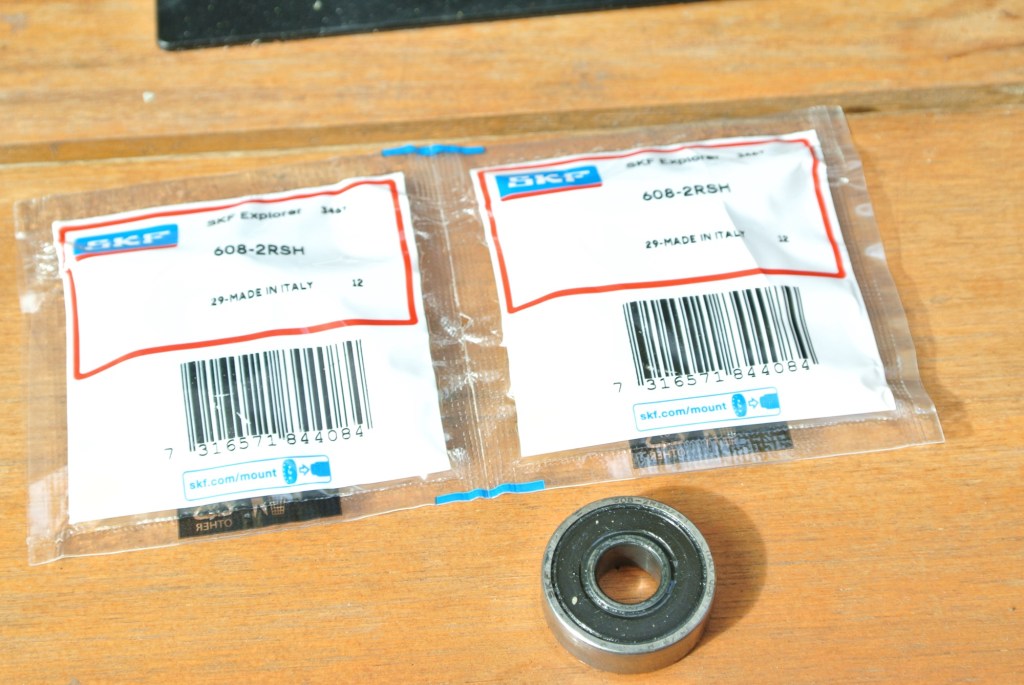
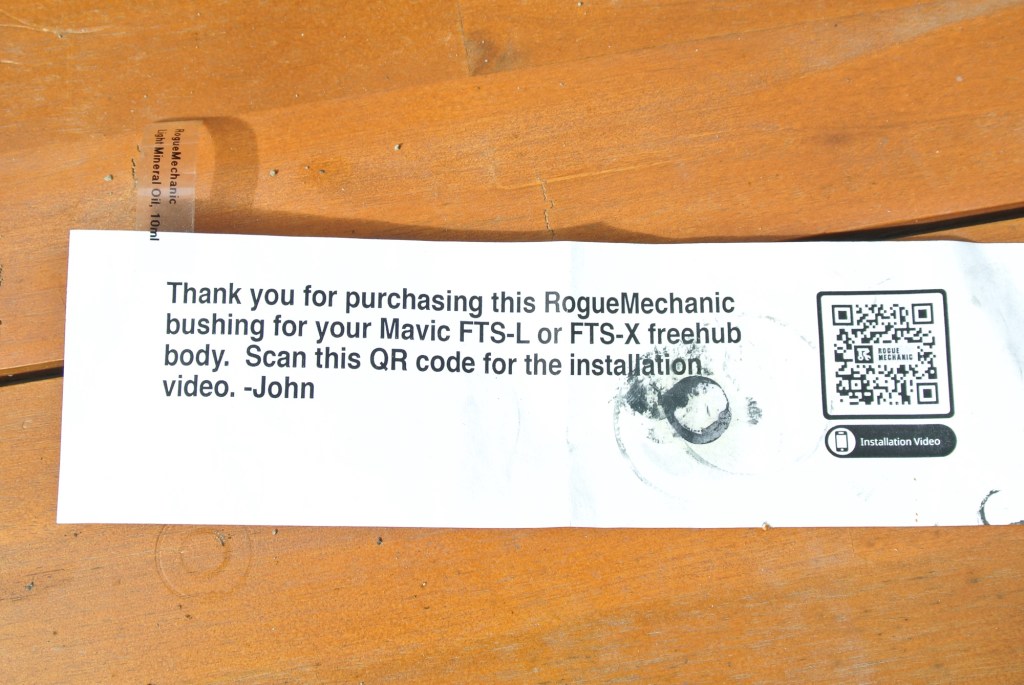
The rear wheel had an issue with the freehub. The freehub would not rotate concentrically and would experience a slight snag every revolution that would cause the chain to jump. I thought it was the bushing in the freehub since I’ve experienced that issue before and they’re known to fail. The remedy has been to replace the whole freehub body, however an engineered solution exists. Thanks to RogueMechanic, I installed an improved bushing but the problem with the freehub when coasting was still present. I noticed a small bearing at the end of the hub body was a bit rough and gritty. After installing the new bearing, the wheel was back to normal and spinning smooth and true.
The screen started to become unbonded. Started at the top and worked it’s way down until the whole boarder was unglued.
Carefully pried the screen off, being sure not to damage the flat flex cable at the bottom.
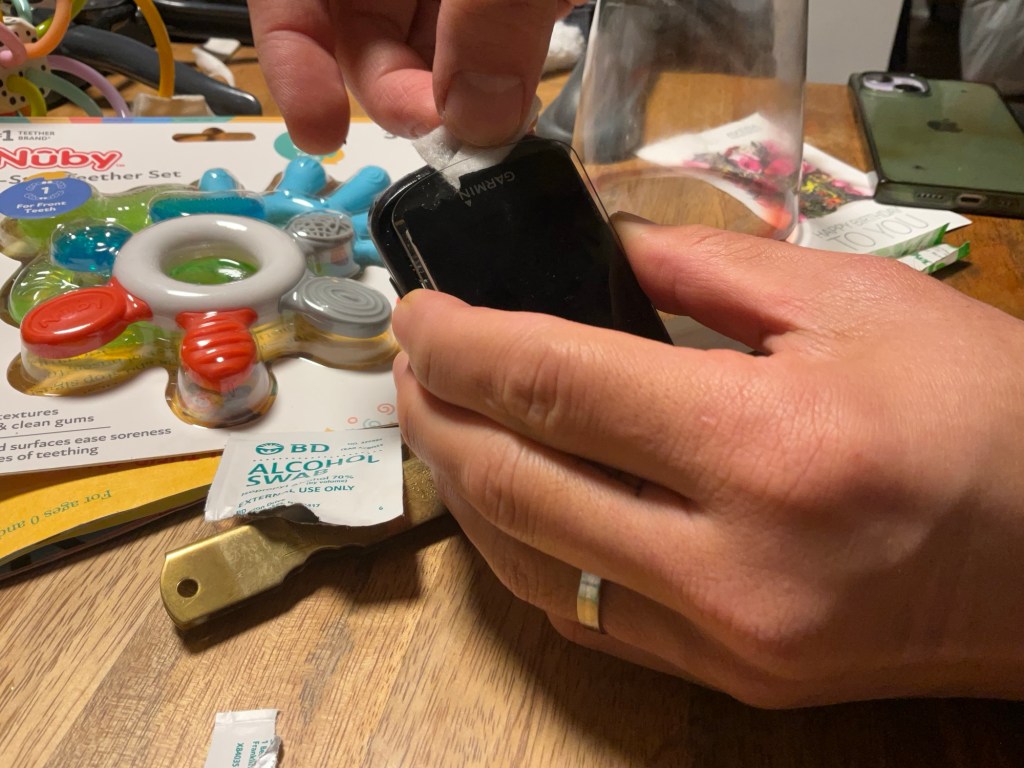
Cleaned the boarder and underside of screen with an alcohol sponge.
Prepared the epoxy and carefully applied a light bead on the inside ledge of the case. Then, after pressing the screen back in, wiped down any excess epoxy while it was still soft.
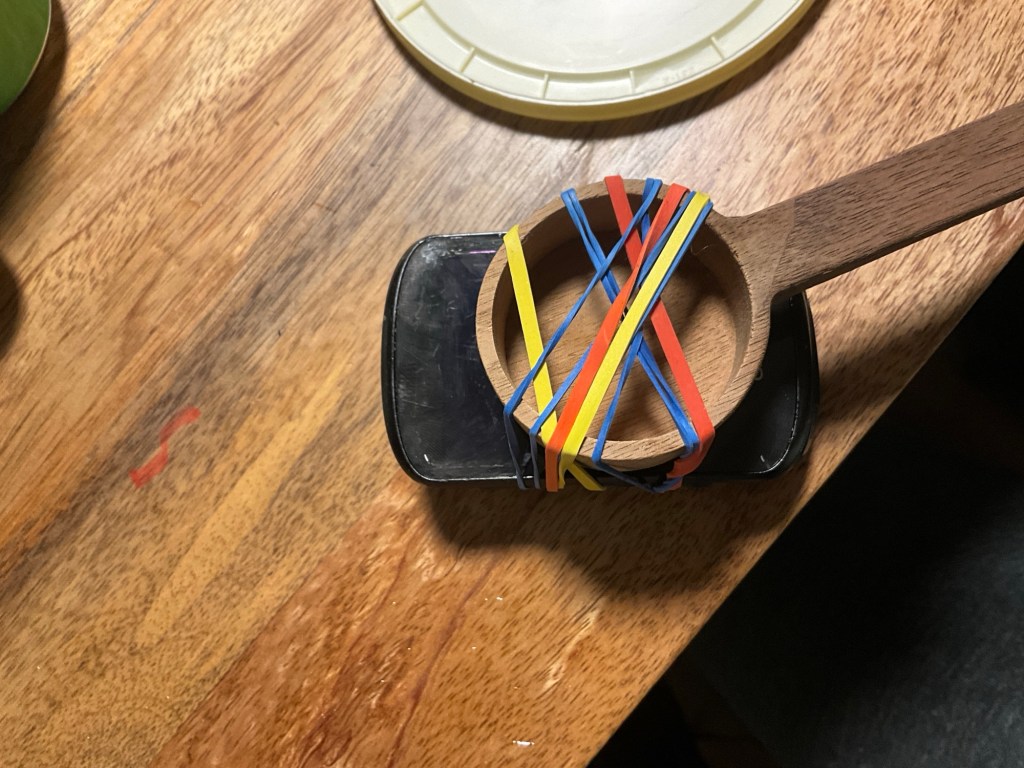
Used what there was lying around to press the screen in place while the epoxy hardens.
The screen started to become unbonded. Started at the top and worked it’s way down until the whole boarder was unglued.
Carefully pried the screen off, being sure not to damage the flat flex cable at the bottom.
Cleaned the boarder and underside of screen with an alcohol sponge.
Prepared the epoxy and carefully applied a light bead on the inside ledge of the case. Then, after pressing the screen back in, wiped down any excess epoxy while it was still soft.
Used what there was lying around to press the screen in place while the epoxy hardens.
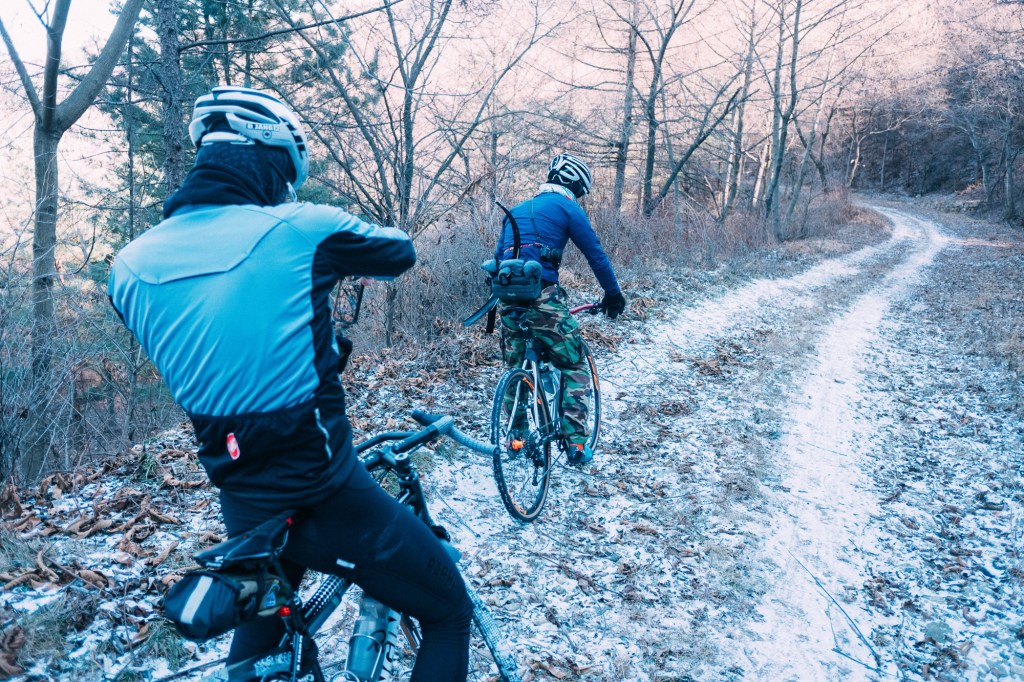
Winters in Korea are harsh. Snow and slush, ice salts, and sub-zero temperatures that constantly leave extremities on the verge of going numb. With all the muck and debris, fenders save the day. They help keep the splatter at bay.
While on a weekend country-road gravel ride outside of Seoul, the rear fender experienced a ductile fatigue failure, splitting cleanly at the bolt mount on the underside of the seat stay bridge. I tried to salvage the broken section since it had the mounting bar and bracket attached. But over the course of the ride it became too cumbersome and was ditched in a garbage can. The half fender was born.
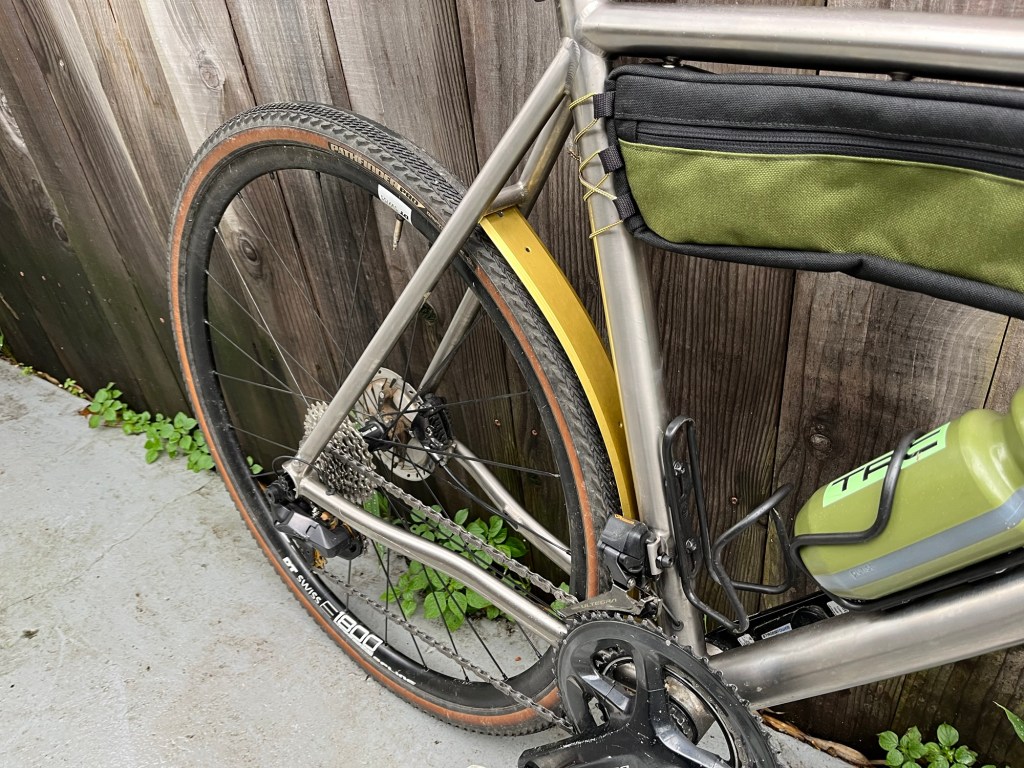
The half fender is easier to mount than a full fender since it only requires two 5mm bolts, one at the chain stay and one at the seat stay bridge. It helps keep the frame cleaner around the bottom bracket and seat tube. Without a fender, this area can easily get dirty with it being so close to the rear wheel. This section is also more difficult to clean with all the small voids around the front derailleur (FD) and if there is a FD clamp.
The half fender doesn’t do a lot in terms of protecting the rider from poopoo splatter and debris, but it does keep the bike cleaner and maintenance down.
Unlike the SKS fender, the gold fender doesn’t have the same cross section to help contain flying debris. The gold fender is just a flat piece of aluminum. This was a repurposed aluminum strip that was originally a doorway seam binder. It is thin and easy to cut and bend, also, gold.
For future or alternative designs, I would consider extending the bottom section of the fender below the seat stay bridge to offer more protection around the bottom bracket.
Disc brakes are great when riding in adverse conditions and offer stronger and more responsive braking control than rim brakes. However, the brake system is more difficult to install, adjust, and harder to maintain. One key aspect of having well working disc brakes is having pistons that articulate smoothly.
Doing a deep cleaning is a sure way to keep the pistons and caliper clean. To this end, a short burst from an air compressor after a ride doesn’t require any disassembly and removes a lot of brake dust, preventing dust buildup and prolonging the time needed before a deep clean.