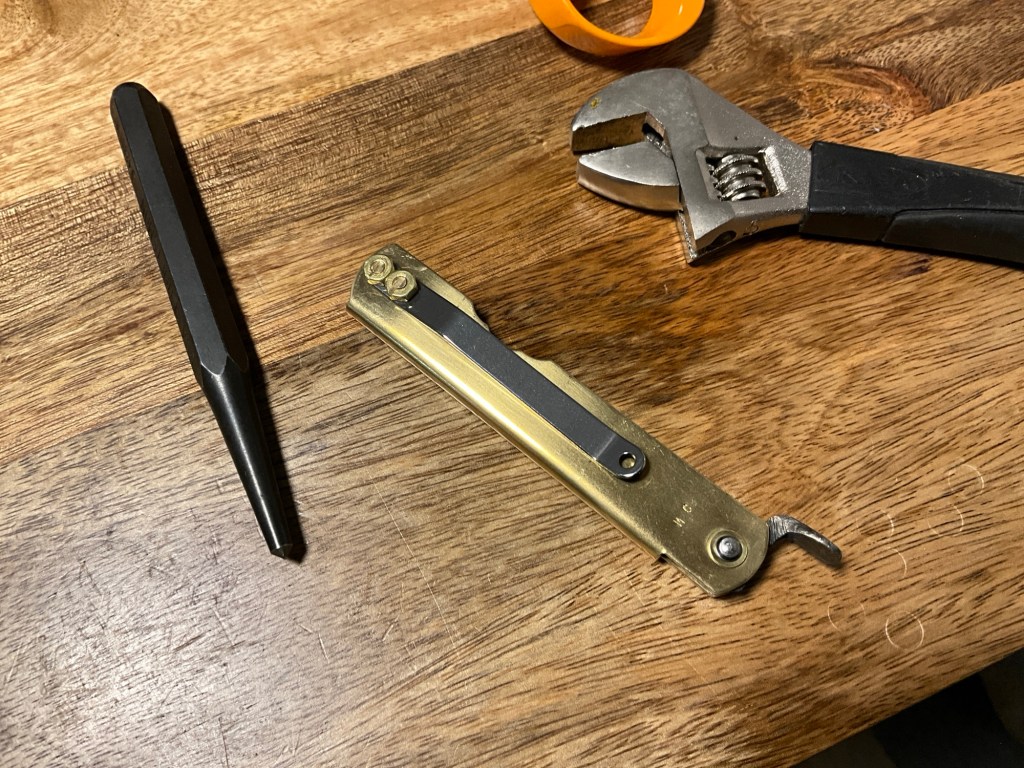
I prefer something simple and minimal, and the Higonokami is the knife that fits perfectly in my pocket. Having lost one in the past for it being loosely in my pocket, I realized that pocket clip was a necessary addition. The general process is outlined below.
Price Breakdown
Higonokami: $35*
Hardware: $7
Clip: $3.25
Total: $40.25
*We purchased the knife from a local Japanese tool shop.
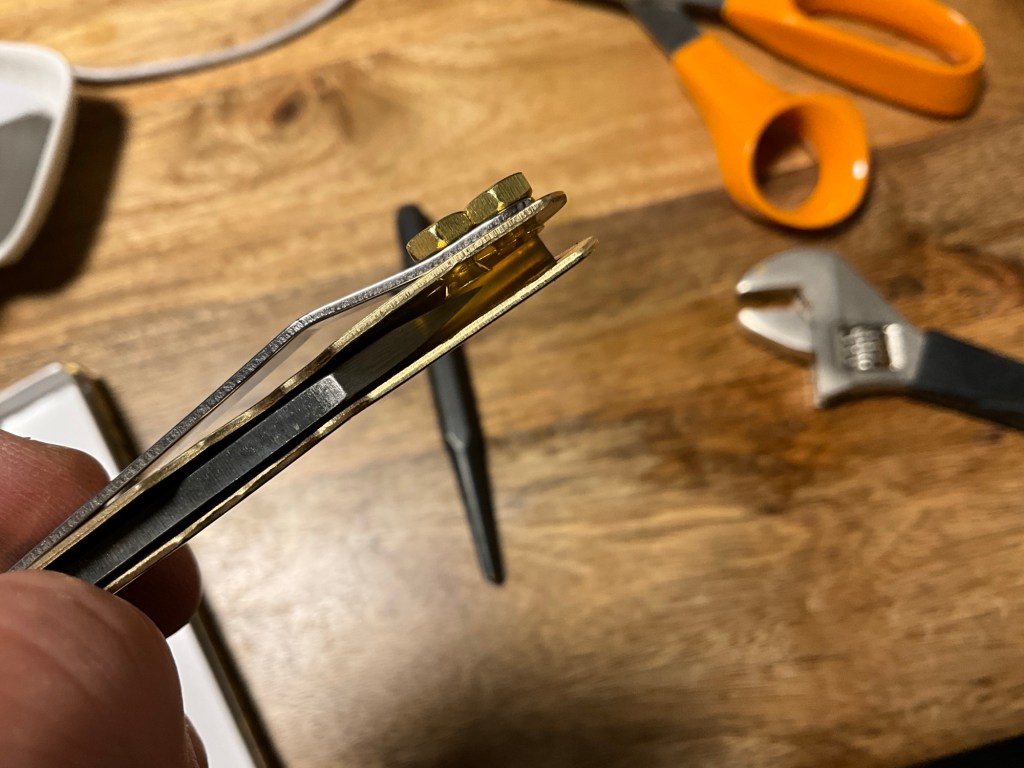
- The Higonokami comes with one hole. This will be used for one (top) bolt. Align the clip with the top hole, and mark the center of the second (bottom) hole. Then drill out the hole. A larger diameter drill bit may be necessary to make it easier to drop the bolt in later. Use a file to de-bur the hole as best as possible.
- The bolts should have a flared head and flat head. Spread the sides to make it possible to drop in the bolt. If the bolt is long, cutting the bolt will help. Insert the BOTTOM bolt first. Then screw on the nut using a flat straight edge to hold the head of the bolt. Turn the nut so that a flat side faces up, towards to top hole.
- Insert the TOP bolt. Thread the nut on as much as possible then align the flat side so that it sits flush with the lower nut. Push the bolt out. Pushing the nut into place with the flat sides sitting flush will act as a locking mechanism, preventing the bolts form coming usncrewed.
- Tighten the top bolt using a flat straight edge until it is as tight as possible.
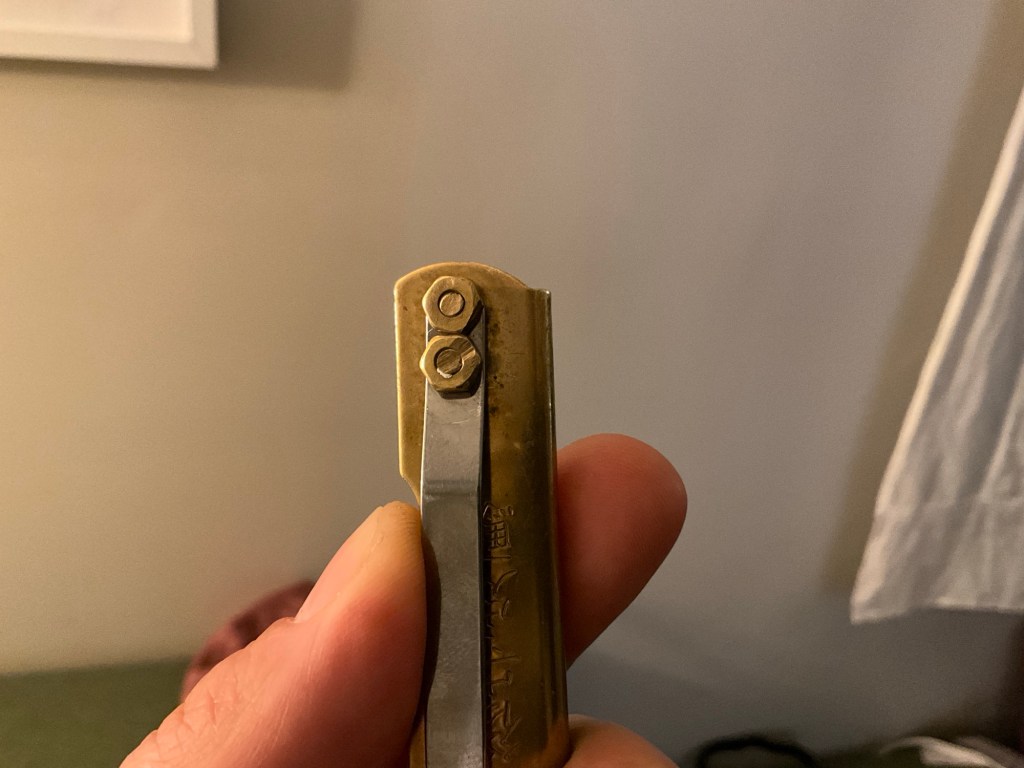
- Press the sides closed until they return to their original position.